Step One: Install the Required Plugin and Module
In order to achieve the functions described in the video you will need to install the two following components:
- Articles Anywhere Plugin which is available for download here:http://www.nonumber.nl
- Simple Image Gallery Module which is available for download here:http://www.joomshaper.com/joomla-extensions/simple-image-gallery
Both of these components are available on the Joomla Extensions Directory: http://extensions.joomla.org/
Step Two: Format Images for Use on Website
After ensuring that you have the forementioned plugin and module installed in your Joomla CMS, this video tutorial demonstrates how to resize your images for use on your Joomla Website. Many components will automatically resize your images. However it is best to utilize an offline image editor to ensure sizing and quality of images. This video tutorial also demonstrates the use of the Adobe Photoshop Program whcih is available for download and purchase under the Adobe Creative Cloud. If you do not have a photo editor and seek an opensource solution to image editing then I recommend the use of GIMP. Gimp is a FREE opensource solution to image editing that provides much of the same photo editing capabilities as photoshop.
![]() Step Three: Upload Images Using the Joomla Media Manager
Step Three: Upload Images Using the Joomla Media Manager
- Navigate to your "media manager" using your Joomla admin menu Content /Media Manager
- Create Folder
- Upload Images using the Joomla Media Manager
 Step Four: Create Module
- Navigate to your "module manager" using your Joomla admin menu Extensions/Module Manager
- Select the new module button
- Select Simple Image Gallery Module
- Configure Image Gallery Module
- Name Module
- Select Image Directory
- Set Thumbnail Sizing
 Step Five: Insert Module into Article
- Navigate to your "Joomla article manager" or "k2 Article Manager" using your Joomla admin menu
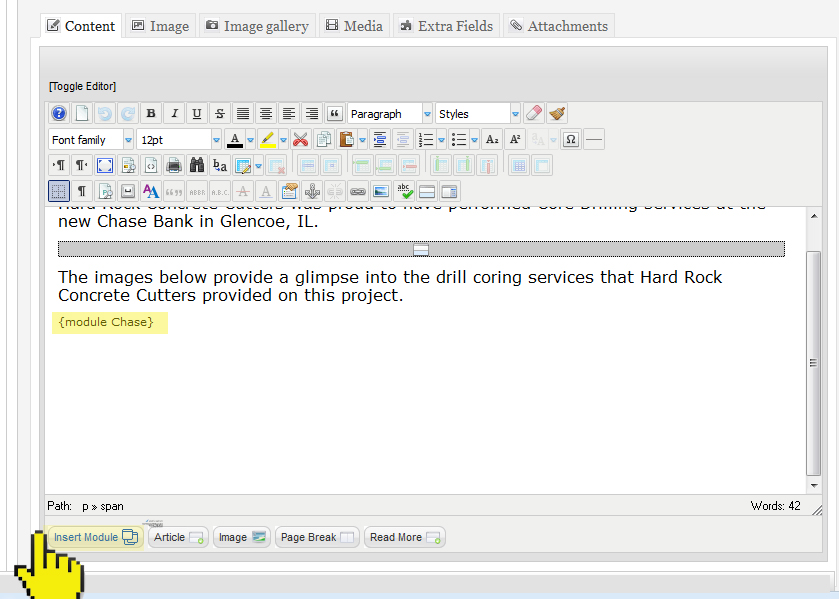
- Insert Simple Image Gallery Module using the Modules Anywhere Function in your article editor.
AdverGroup Web Design specializes in installing and configuring the Joomla Content Management System for clients seeking a professional website. We often recommend the use of the Joomla CMS because it is so easy to use.


